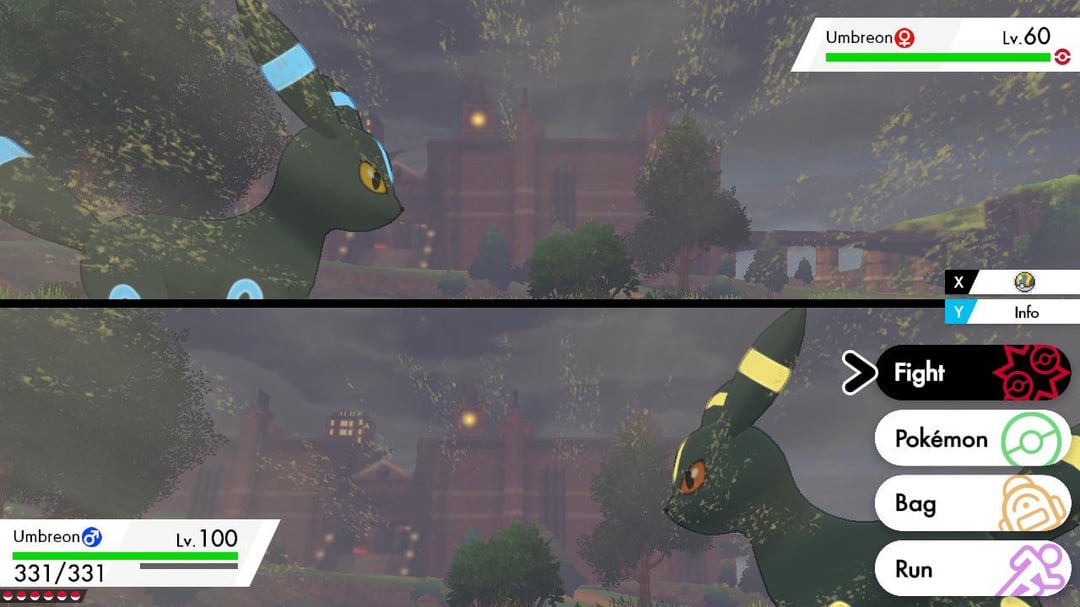
Capturing high-quality screenshots in Pokemon Sword and Shield is straightforward. Here's how:
Taking Screenshots
To take a screenshot on your Nintendo Switch during gameplay:

- Simply press the Capture Button. It's the small, square button located on the left Joy-Con.
- A notification will briefly appear at the top-left of the screen confirming the screenshot has been saved.
Accessing Screenshots
Your screenshots are saved to your Nintendo Switch's Album. To access them:
- From the Nintendo Switch HOME Menu, select Album.
- Here you can view, edit, and manage your screenshots.
Transferring Screenshots
You can transfer screenshots from your Nintendo Switch to a computer or smart device:
- Via microSD card: Save screenshots to a microSD card and then insert the card into your computer.
- Wirelessly to a Smart Device: Use the "Send to Smartphone" option in the Album. This involves scanning a QR code displayed on your Switch with your smart device.
- Copy to Computer via USB: Connect your Nintendo Switch dock to your computer using a USB cable. Turn on the Nintendo Switch and navigate to System Settings > Data Management > Manage Screenshots and Videos > Copy to Computer via USB Connection.
Screenshot Quality
Pokemon Sword and Shield screenshots are saved in JPG format.


