Capturing a Hero: Mastering Screenshots in Marvel's Spider-Man PS4
Marvel's Spider-Man for the PlayStation 4 offers a visually rich experience, ideal for capturing memorable moments. The game's integrated Photo Mode is a powerful tool for players looking to create stunning in-game photography and preserve their adventures in virtual New York City.
Accessing and Utilizing Photo Mode
Photo Mode is typically accessed by pausing the game (usually via the 'Options' button on the DualShock 4 controller) and selecting the "Photo Mode" option from the ensuing menu. Once activated, gameplay freezes, granting you complete control to frame and capture the perfect shot.
Key Features of Photo Mode:
- Camera Controls: This includes free camera movement, orbit capabilities around Spider-Man, adjustable Field of View (FOV) for wide-angle or zoomed-in shots, and camera roll (tilt). These tools allow for diverse perspectives, from expansive cityscapes to intimate character close-ups.
- Filters and Visual Effects: A comprehensive suite of visual filters (e.g., Noir, Sepia, Comic Book, Negative) is available, often with adjustable intensity. Additional effects such as film grain, chromatic aberration, and vignette can be applied to further stylize the image.
- Frames and Stickers: Players can overlay various thematic frames or character-based stickers onto their screenshots, adding a layer of personalization or comic book flair.
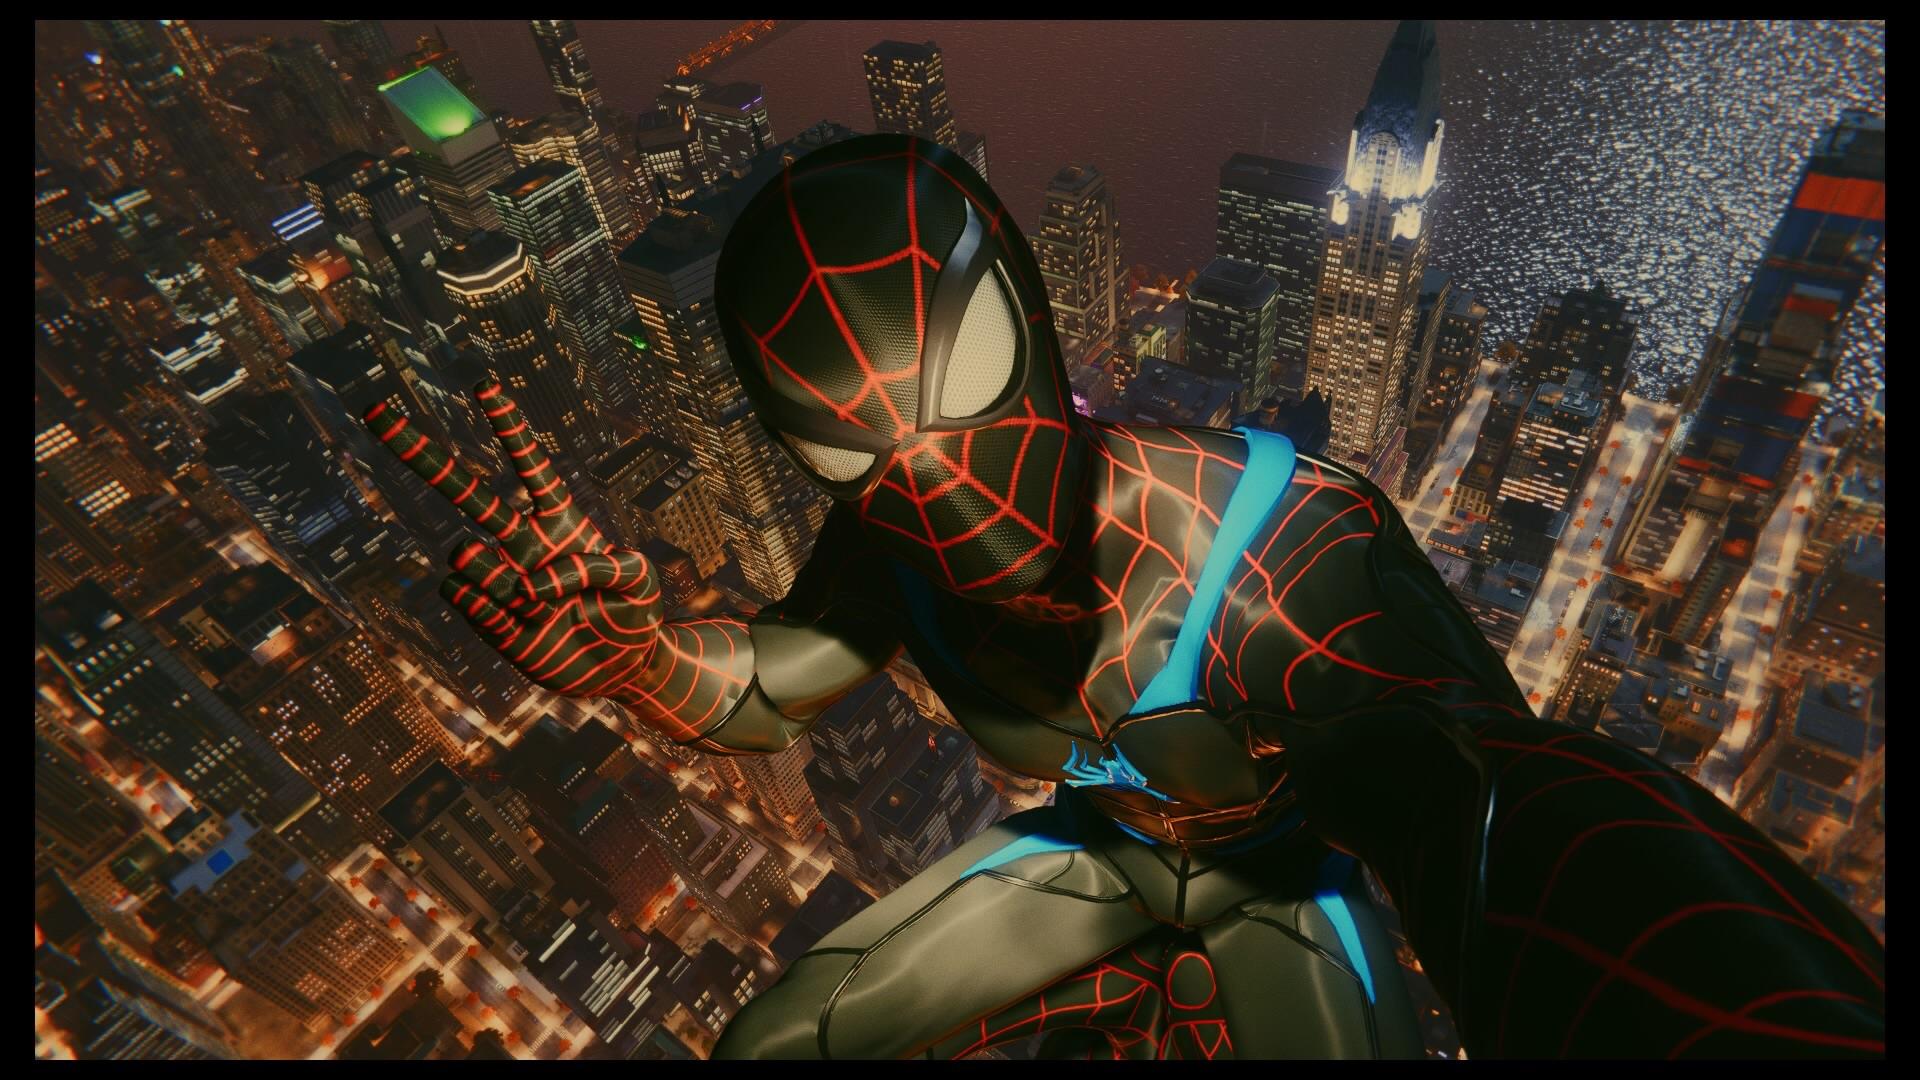
- Character Customization: Within Photo Mode, you can often change Spider-Man's suit to any unlocked costume. Options to alter character expressions, poses (including a dedicated 'Selfie' mode), and even toggle the visibility of Spider-Man or other NPCs in the scene are standard.
- Focus and Depth of Field: Manipulate aperture settings to control depth of field, allowing for sharp focus on the subject while blurring the background (bokeh effect), or keeping the entire scene in sharp focus. Focus distance can also be precisely adjusted.
- Lighting and Exposure: While direct control over time of day might be limited outside specific missions, options to adjust exposure, contrast, and brightness are generally available to fine-tune the lighting of your scene.
Tips for Professional-Quality Screenshots
To elevate your Spider-Man PS4 screenshots from simple captures to artistic expressions, consider the following techniques:
- Composition is Key: Employ photographic principles such as the Rule of Thirds by placing Spider-Man or key elements off-center. Look for leading lines within the environment to guide the viewer's eye.
- Capture Dynamic Action: Freeze moments of high action, such as mid-swing, during combat finishers, or while performing intricate aerial maneuvers. Experiment with camera angles to convey speed and impact.
- Utilize Lighting: Pay close attention to natural and artificial light sources within the game. Use sunlight during different times of day (if cycling), moonlight, or the vibrant neon lights of the city to create mood, highlight textures, or craft dramatic silhouettes.
- Experiment with Depth of Field: A shallow depth of field can isolate Spider-Man from a busy background, making him the clear focal point. Conversely, a deep depth of field is excellent for showcasing the detailed environment alongside the character.
- Leverage Filters and Effects Wisely: Filters can drastically change the tone of an image. Use them to enhance the narrative or aesthetic you're aiming for, but avoid over-processing if a more natural look is desired.
- Tell a Story: Think about the narrative your screenshot conveys. Is it a heroic pose overlooking the city, a candid moment, an intense battle, or a humorous selfie? The context can add significant value.
Once your masterpiece is framed, use the PS4's 'SHARE' button to capture the screenshot. These images are saved to your console's Capture Gallery and can be easily shared on social media, used as custom console wallpapers, or transferred to external storage for archival or further editing.