Understanding Custom Portraits in Rogue Trader
Custom portraits in Rogue Trader allow players to replace the default character image with a personalized one. This significantly enhances role-playing immersion, enabling a unique visual representation of your Lord Captain or companions that aligns more closely with your created narrative and character concept.
Preparing Your Custom Portrait
Creating effective custom portraits requires attention to technical specifications and artistic style. Proper preparation ensures your portrait integrates seamlessly into the game's interface.
- Image Dimensions: Games like Rogue Trader often require three specific image sizes for a complete portrait set. While exact dimensions should be verified for the latest game version, common sizes are approximately:
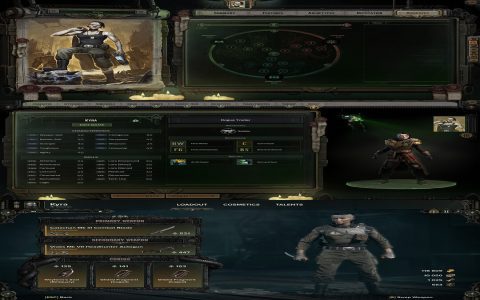
- Small: For UI elements like party selection (e.g., 182x242 pixels).
- Medium: For character sheets (e.g., 330x432 pixels).
- FullLength (or FullBody): For character creation and detailed views (e.g., 692x1024 pixels).
- File Format: The universally accepted format is PNG (Portable Network Graphics) due to its support for transparency and good compression quality.
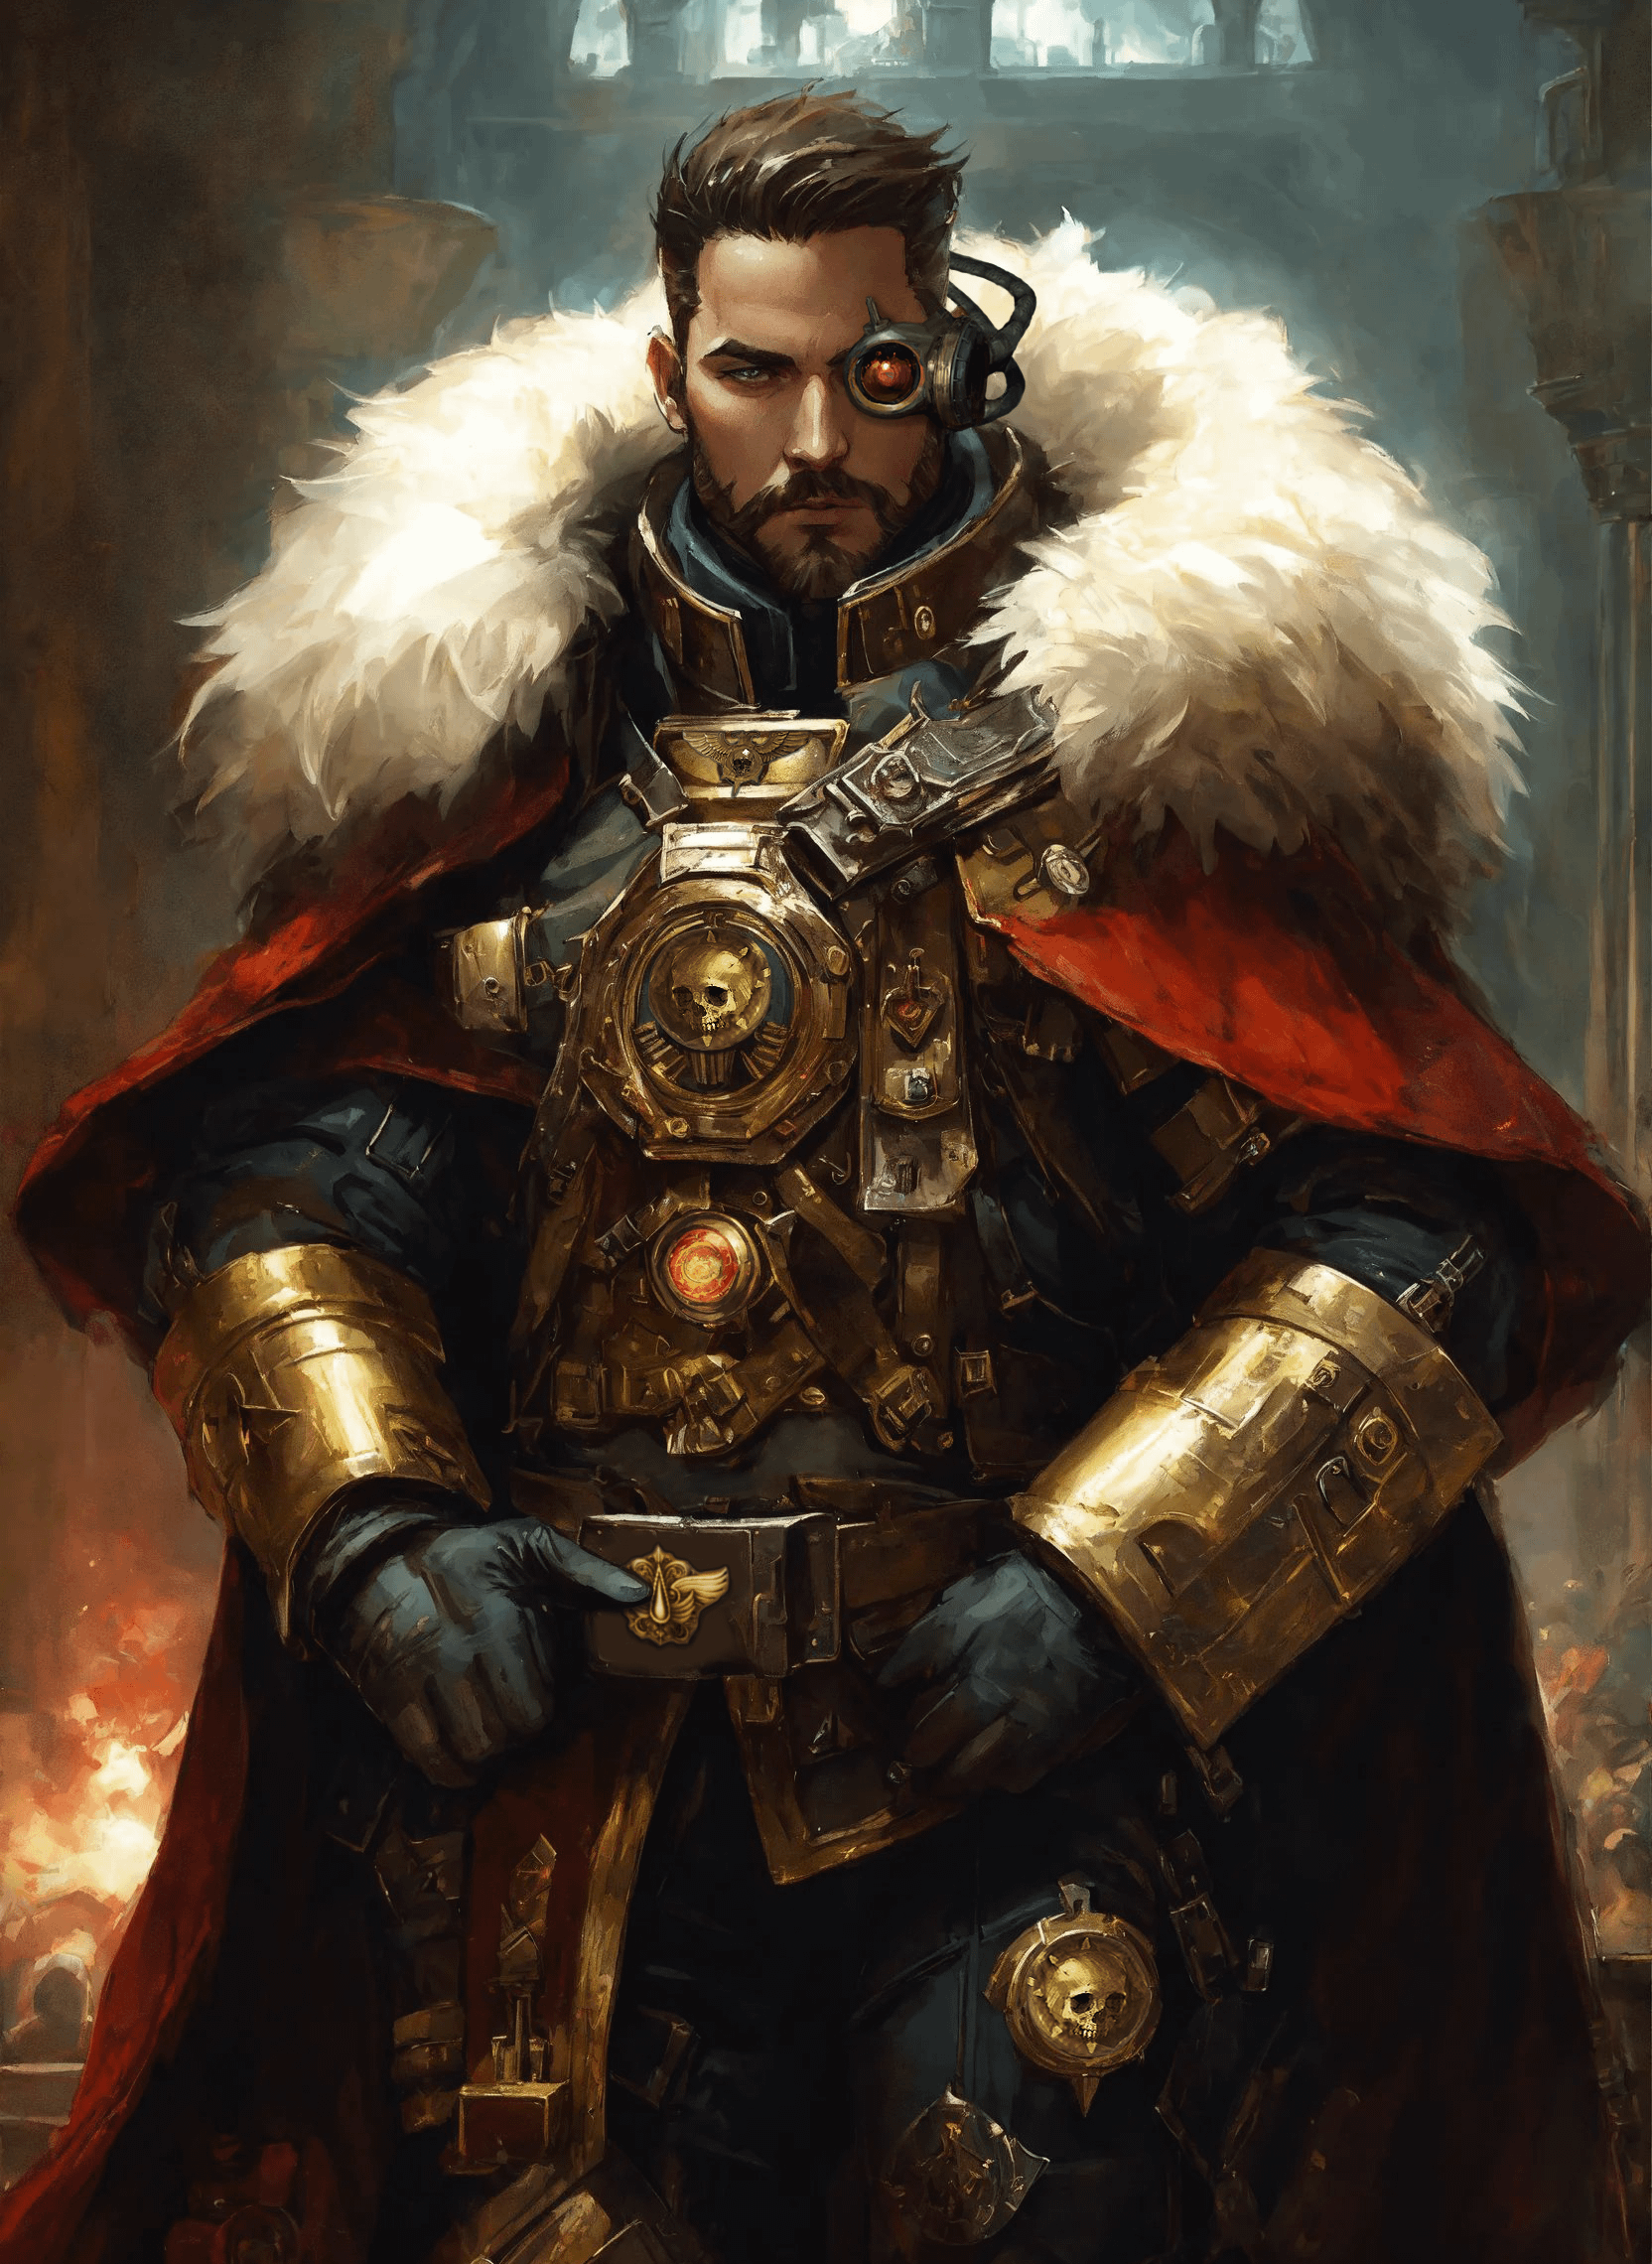
- Artistic Style: Aim for a style consistent with the Warhammer 40,000 universe – often gritty, detailed, and thematic. Consider the existing in-game art to ensure your portrait does not appear out of place.
- Creation Tools: Image editing software such as GIMP, Krita, or Adobe Photoshop can be used. AI art generation tools can also be a starting point, but often require manual touch-ups for consistency and detail.
Implementing Custom Portraits in the Game
Adding your prepared portraits to Rogue Trader typically involves placing them in a specific game folder. The exact path may vary based on your operating system and game installation.
- Locating the Portraits Folder: Generally, custom portraits are placed in a user-specific application data folder. A common path is:
C:Users[YourUserName]AppDataLocalLowOwlcat GamesWarhammer 40000 Rogue TraderPortraits. You may need to create subfolders (e.g., "0001", "0002") within this "Portraits" folder, each containing one set of three images. - Naming Conventions: Inside each numbered subfolder, the image files must be named precisely. Common naming includes:
- (or a similar variation like – always check game community resources or official guides for the exact required naming for your game version).
- In-Game Selection: Once correctly placed and named, custom portraits should appear as selectable options during character creation or when changing a character's appearance, if the feature is supported by the game.
Tips for Effective Custom Portraits
To ensure your custom portrait enhances your gameplay experience:
- Maintain Consistency: If creating portraits for multiple characters, strive for a similar artistic style, lighting, and resolution across them.
- Clarity and Focus: Ensure the character's face is clearly visible and well-defined, especially in the smaller portrait sizes. The portrait should be appropriately cropped and centered.
- Lore-Friendliness: While creativity is encouraged, portraits that align with Warhammer 40,000 aesthetics and lore will feel more integrated and immersive. Avoid overly modern or out-of-theme elements.
- Test Thoroughly: After adding a portrait, launch the game to check how it appears in all relevant UI elements (character sheet, dialogue boxes, party bar) to ensure correct sizing, cropping, and no visual glitches.